
To make the Black or White Bat Mask you need:

-
- An empty cereal packet
- A toilet roll inner
- Kitchen foil
- A pair of scissors
- A glue stick
- A pen or pencil
- A paper clip or hair clip
 An empty yoghurt pot or similar pot
- A ruler or something else you can use to draw straight lines
- Black or white paint


You can click on any photo to make it bigger.


1) Open your cereal packet up, including the top and bottom flaps, and then cut off the front or the back of the packet and one side. Keep the top of the packet to make the tongue later.

2) On the printed surface of the card, mark the centre of each side with your pen or pencil – you can do this by looking at it if you don’t have a ruler. Use your ruler or anything with a straight edge to join up the marks, so you have a cross running through.

3) Now join up the marks again to create a diamond shape.


4)Cut out your diamond so you have five pieces of card – four triangles and your diamond.


5)Draw a line down from the middle of the cross and again below the centre line. This will be your eye hole. Cut out the shape, starting with just a small gap.
7) Hold it up to your face. Make the gap bigger as necessary untill you can see.


8)Glue your yoghurt pot just above the eye hole in the top half of your diamond on the plain side of the card.

9) Cut the side of the packet lengthways to create two equal-sized strips of card.

10) Glue your two thin strips of card together to make one long strip with the printed surface on the inside.

11) Take two of your triangles and glue them on either side of the join. Make sure that the long straight ends of the triangles are furthest away from the join.

12) Use your paper clip or hair grip to join the band at the front. Place it on your head, and adjust the size of the band till it fits you.

 13) Take the headband off and glue the join. Make a mark with your pen before you take the paperclip off so you know where to glue it.


 14) When your headband is dry, put some more glue on the front and fit the band back on your head. Hold up your diamond in front of you until you can see through the eye hole. Now push the diamond firmly onto the glue to fix it in place and leave it to dry.


15) Once the glue is dry you are ready to paint your mask in black or white paint as you prefer. (Acrylic paint is best.) If you don’t have a paintbrush, cut off a piece of kitchen sponge and sponge the paint on. While the paint is drying, you can make the rest of the mask.

16) Take your other two triangles and cover one side of each with silver foil. These are the insides of your ears. Check to make sure you are covering the correct side with foil.


17) Take two larger pieces of foil and roll them into balls to make the eyes. If you have cotton wool balls available, you can also make the eyes by wrapping foil around them. Take two small pieces of foil and roll them into balls to make the bat’s nostrils.

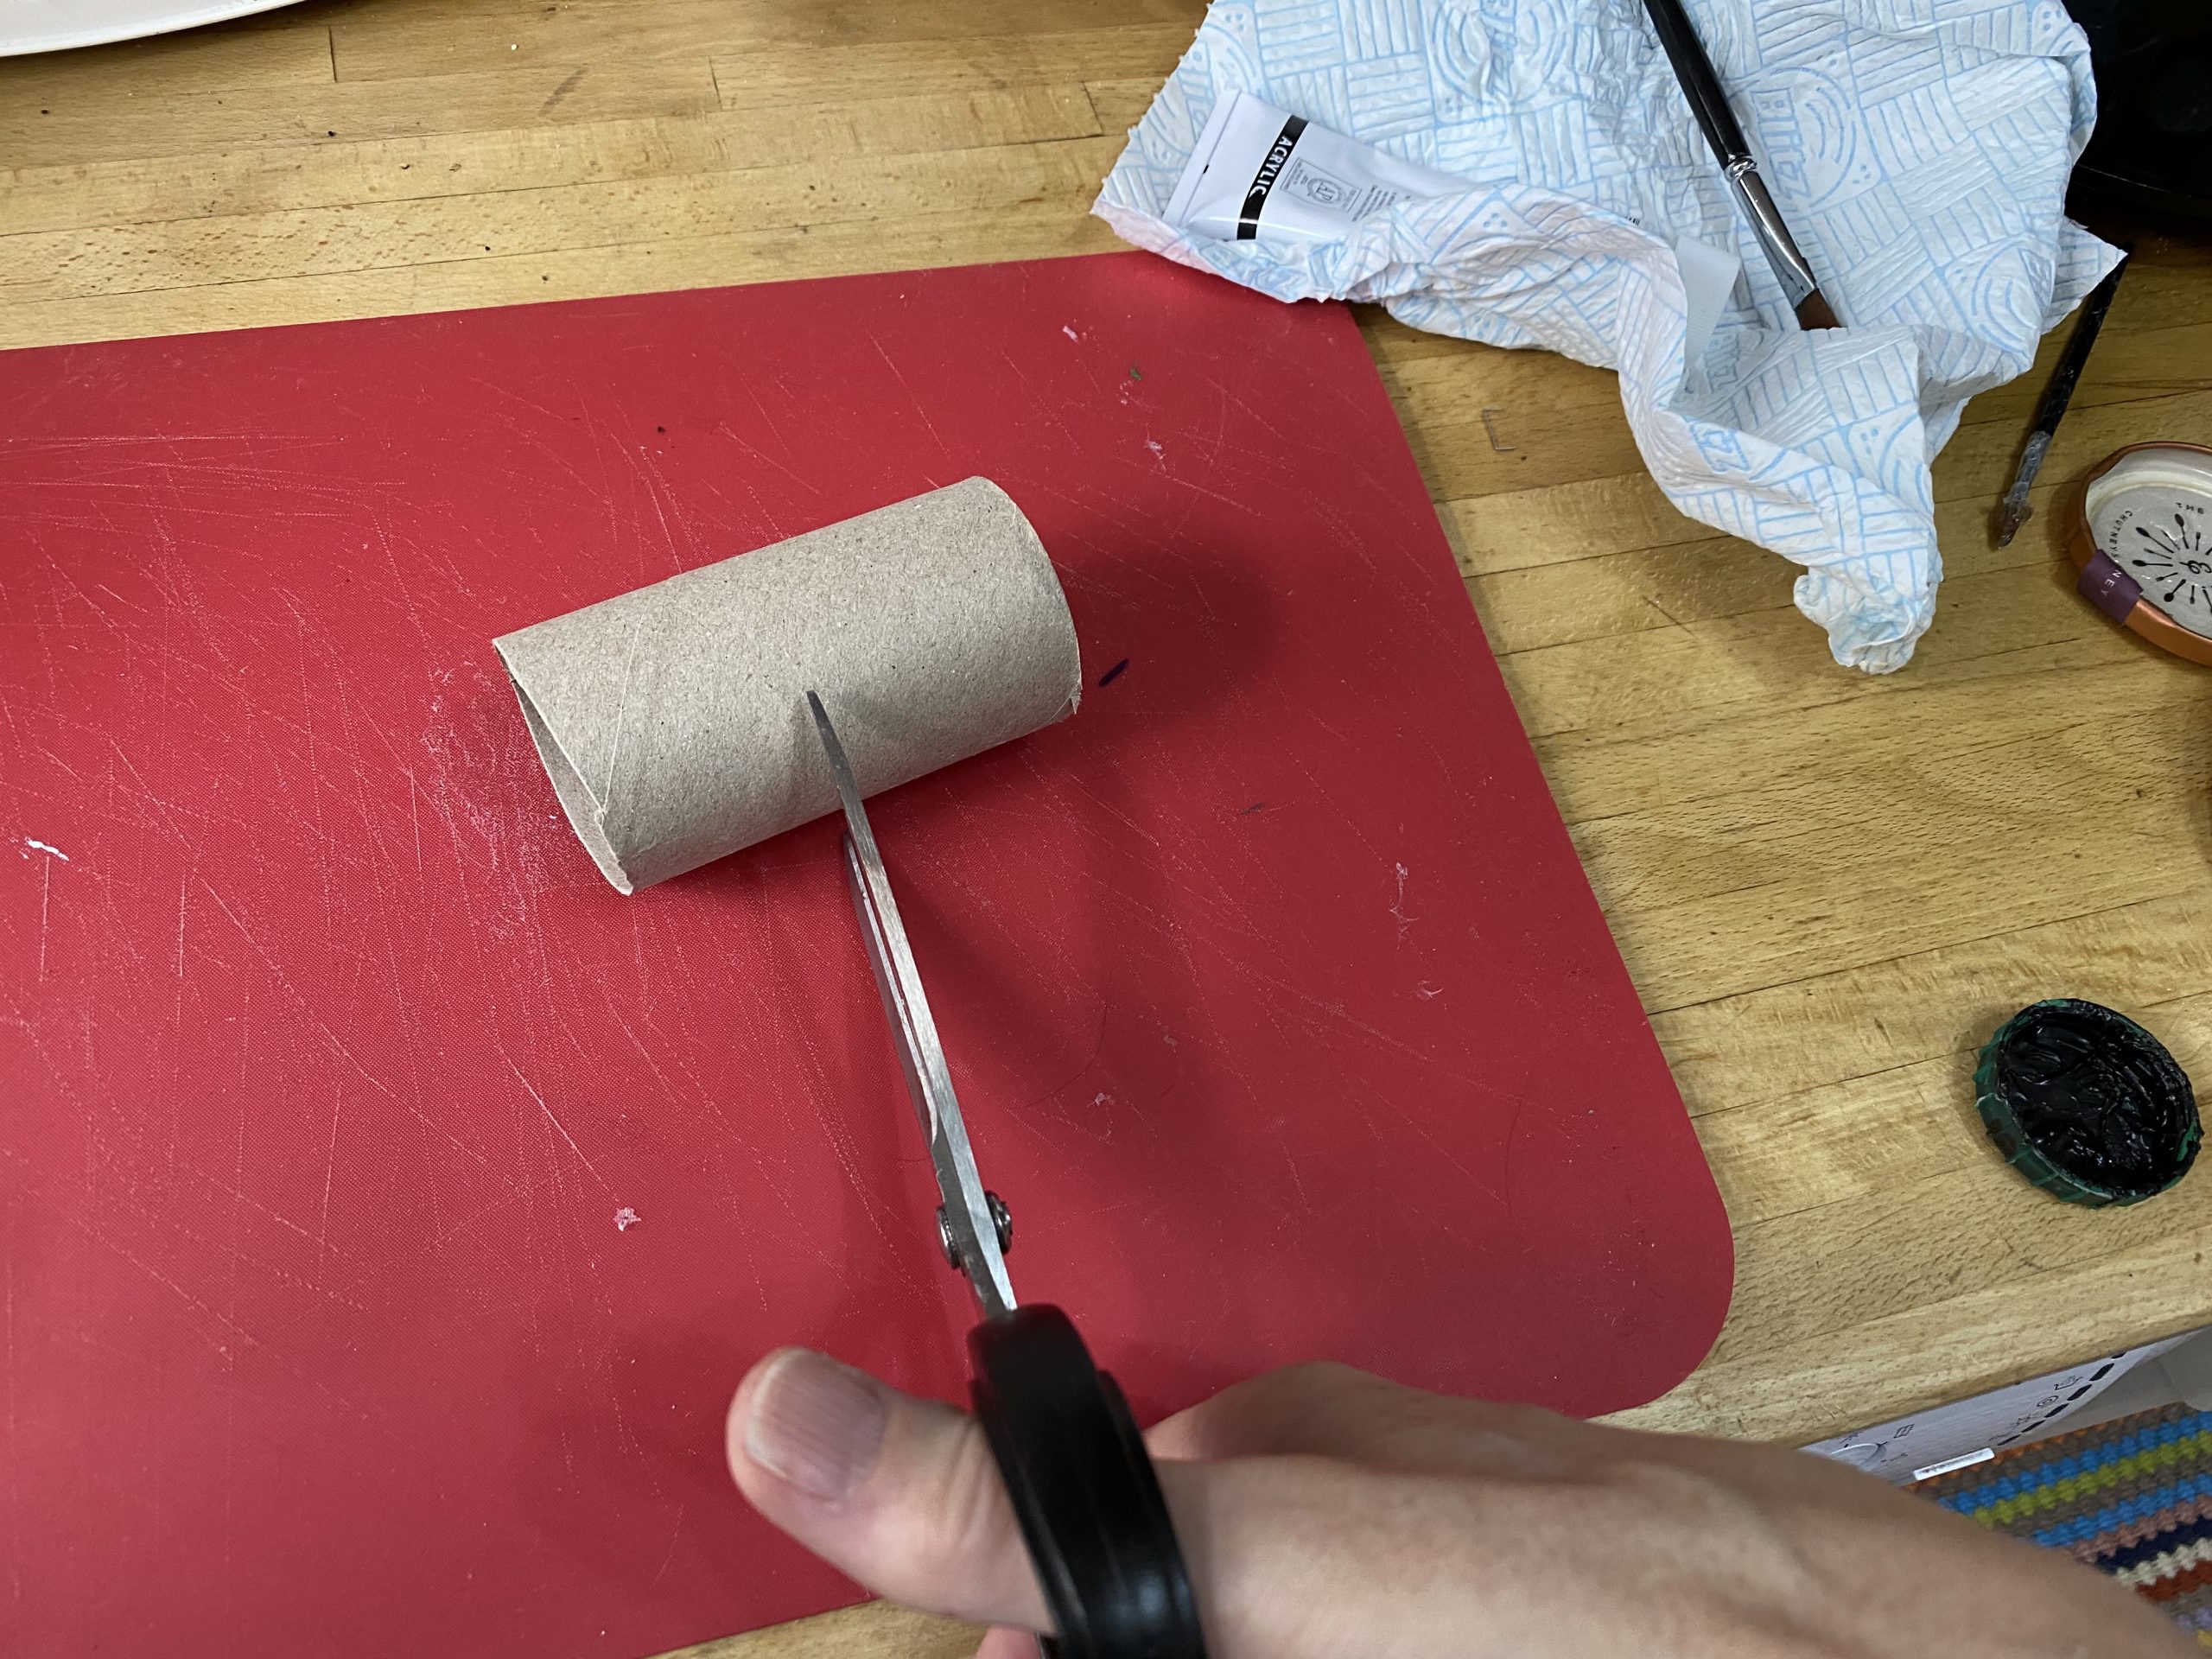

 18) Take your toilet roll inner and cut it into three pieces. Put one piece aside to make the mouth, and use the other two to finish the eyes. Take the two pieces that will make the eyes and cut into them at regular intervals to create lashes.


 19) Use your fingers to curl the eyelashes.


20) Then cut off the two ‘lashes’ at each corner.


21) Glue your lashes to the large foil balls to finish the eyes.


22) Wrap silver foil around the sides of the remaining piece of toilet roll inner, and then wrap foil around one end to make the mouth.


23) Take the top of the cereal packet to make your tongue. Cut this in half to create a thinner strip, wrap it in foil, then curl it with your fingers.

 24) Stick the tongue to the bottom of the mouth.


 25) Once the paint is dry, finish the mask by glueing on the insides of the ears, the nostrils, eyes and mouth.

Now you are ready to make your wings!
You can find out more about real bats here.
Kitchen Carnival Designs by ju90
Return to the Kitchen Carnival Home Page